Getting Xilinx ISE working
1 week, 5 days ago fpga logipi linux xilinx nablopomo
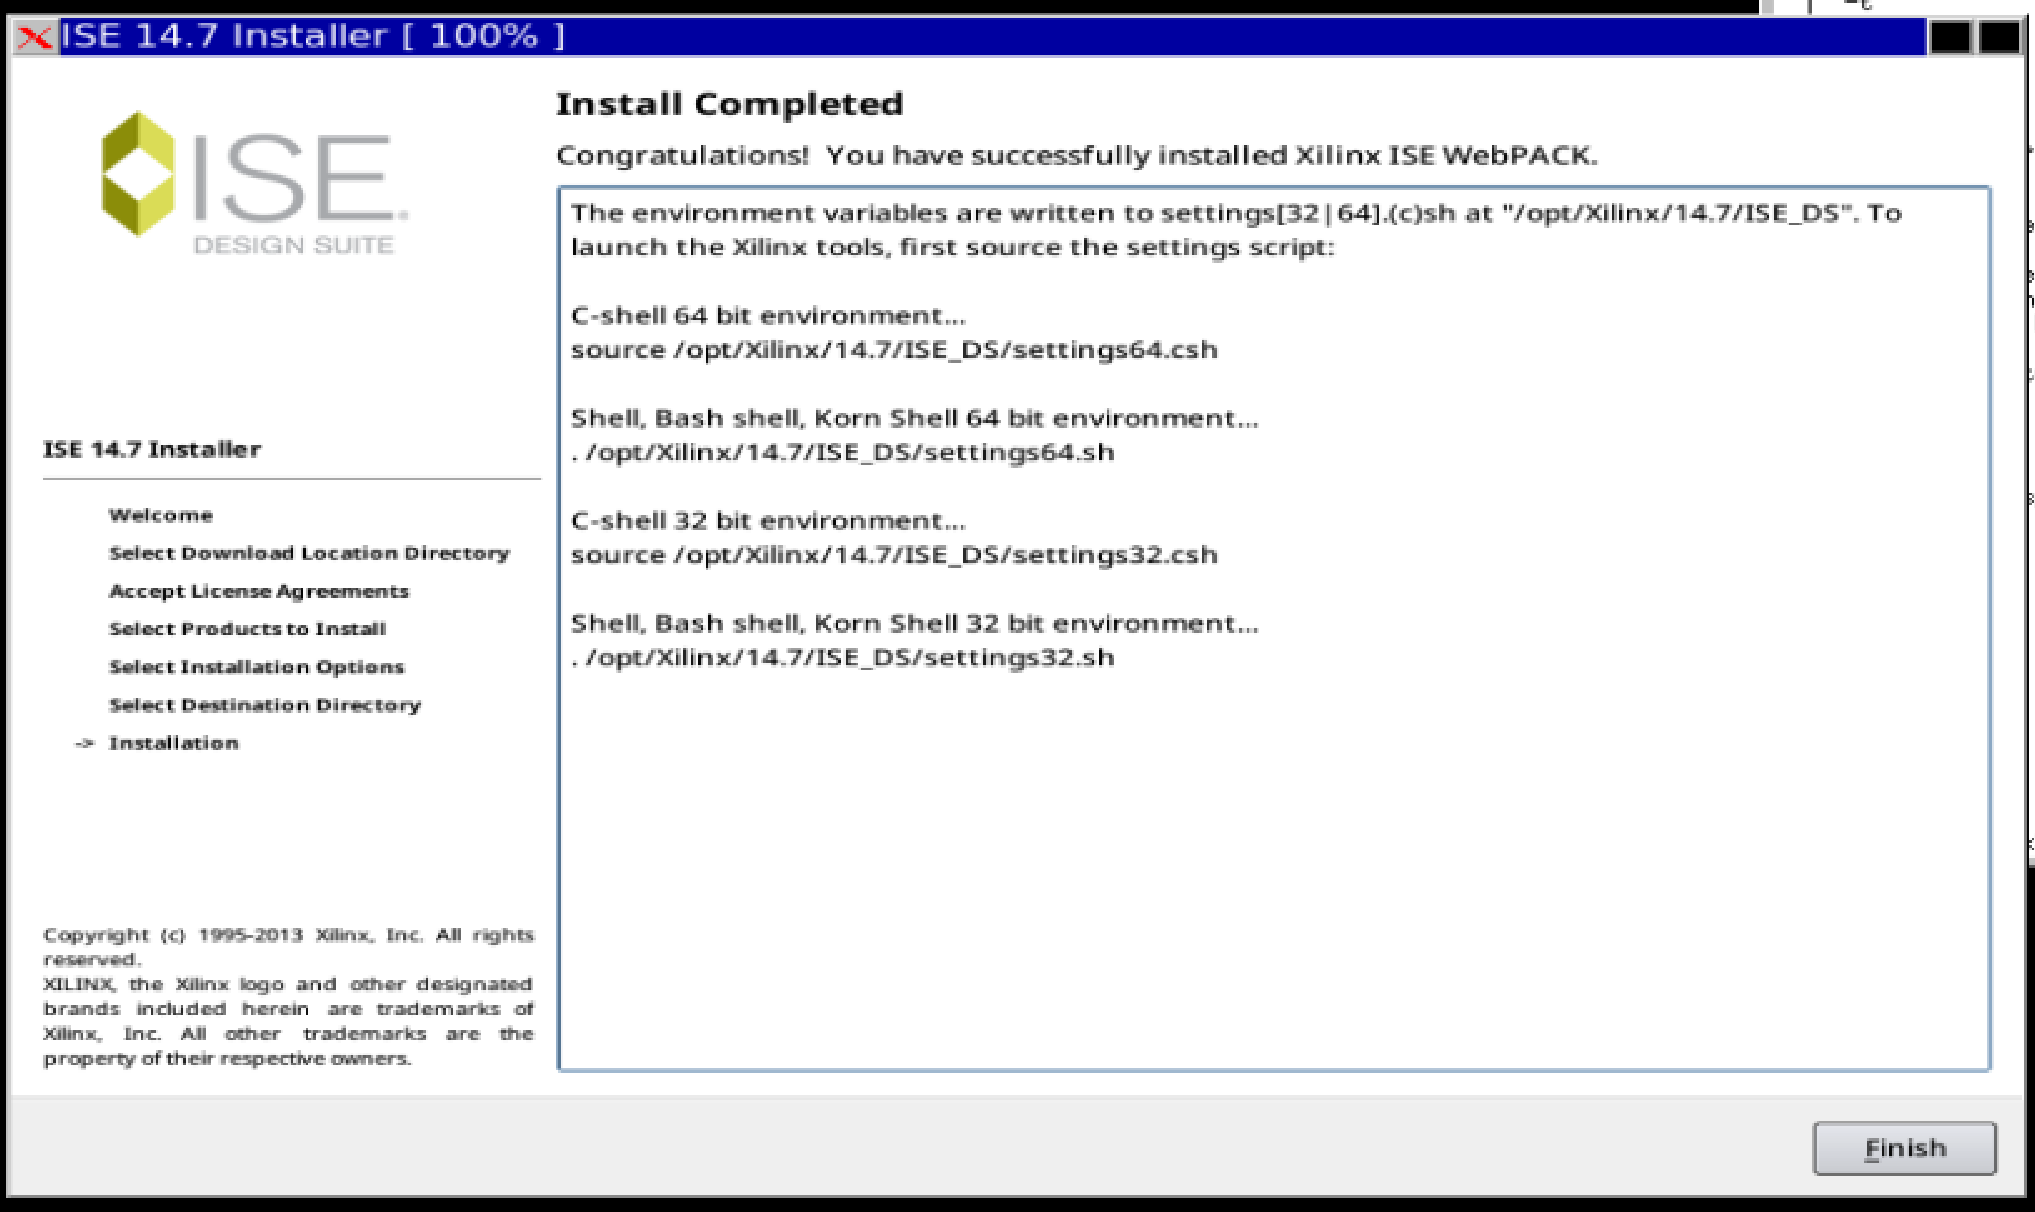
Now that I've arranged for there to be enough disk space to do so, it's time to install the Xilinx ISE tools that are needed to compile my own bitstreams for the Logi-Pi.
This is quite a chonky download (4 files of approximately 2GB each), so let's set that going first. The files come from the Xilinx legacy download page - you need to create an account to download things, but doing so isn't too onerous (and doesn't seem to have caused a lot of spam to be sent my way). The files I downloaded were
Xilinx_ISE_DS_14.7_1015_1-1.tarXilinx_ISE_DS_14.7_1015_1-2.zip.xzXilinx_ISE_DS_14.7_1015_1-3.zip.xzXilinx_ISE_DS_14.7_1015_1-4.zip.xz
Installing "old" software on a new Linux (I'm using AlmaLinux 10 here) can be challenging; fortunately I'm not the first to tread this path, and there are some install instructions that relate to installing the tools on modern Ubuntu - this was useful to get me on the right track (and confirm that this wasn't just a futile endeavour from the start!).
Once the downloads are done, it's time to start the install proper. The first step is to unpack the first file, which is a tar archive:
mkdir ~/xilinx
cd ~/xilinx
tar -xvf ~/Downloads/Xilinx_ISE_DS_14.7_1015_1-1.tar
As pointed out by the install instructions I mentioned above, some extra packages are needed. The names are slightly different on RedHat/Rocky Linux/Alma Linux systems, so we tweak the installation command to be:
dnf install ncurses-compat-libs ncurses-devel xorg-x11-fonts-75dpi xorg-x11-fonts-100dpi motif-devel
We also need to make sure our user has permissions to install the toolchain where it likes to live:
sudo mkdir -p /opt/Xilinx
sudo chown -R "$USER" /opt/Xilinx
Now it's time to run the installer. This requires an X display. Alma 10 defaults to Wayland, which unfortunately won't do. I'm sure it's not hard to install an X server locally, but I cheated and just connected (over ssh) from a system that had one already working, and started the installer:
ssh -Y myvm
cd ~/xilinx
./xsetup
That ran the installer, which (after quite a while, including prompting for the location of the other big files) completed!
But we're not yet all the way there: the software is installed, sure, but if we want to be able to actually run it, we'll need a licence. This is free, and can be obtained from the Xilinx licensing page - again, this needs an account; I chose the "ISE WebPACK License", and fairly shortly it a licence was emailed to me.
Once it arrived, it took a while to figure out how to get the tools to recognise it: it turns out the trick is to save it as /opt/Xilinx/14.7/ISE_DS/ISE/data/Xilinx.lic.
Before running tools, it's necessary to run source /opt/Xilinx/14.7/ISE_DS/settings64.sh (or source /opt/Xilinx/14.7/ISE_DS/settings64.csh for die-hard csh users); this sets up all the relevant paths and other environment variables. Having done this, I can now run an Amaranth script that attempts to build a bitstream - and it succeeds!
Next step is to try writing some code of my own and compiling that. But that might require setting up a "platform" in Amaranth, to teach it about the Logi-Pi.