Logipi Lives!
1 day, 15 hours ago electronics fpga logipi programming raspberrypi
Good news from the resurrecting-dusty-boards-from-the cupboard department: I have managed to get the Logi-pi board to work! The process wasn't too painful:
Attachment issues
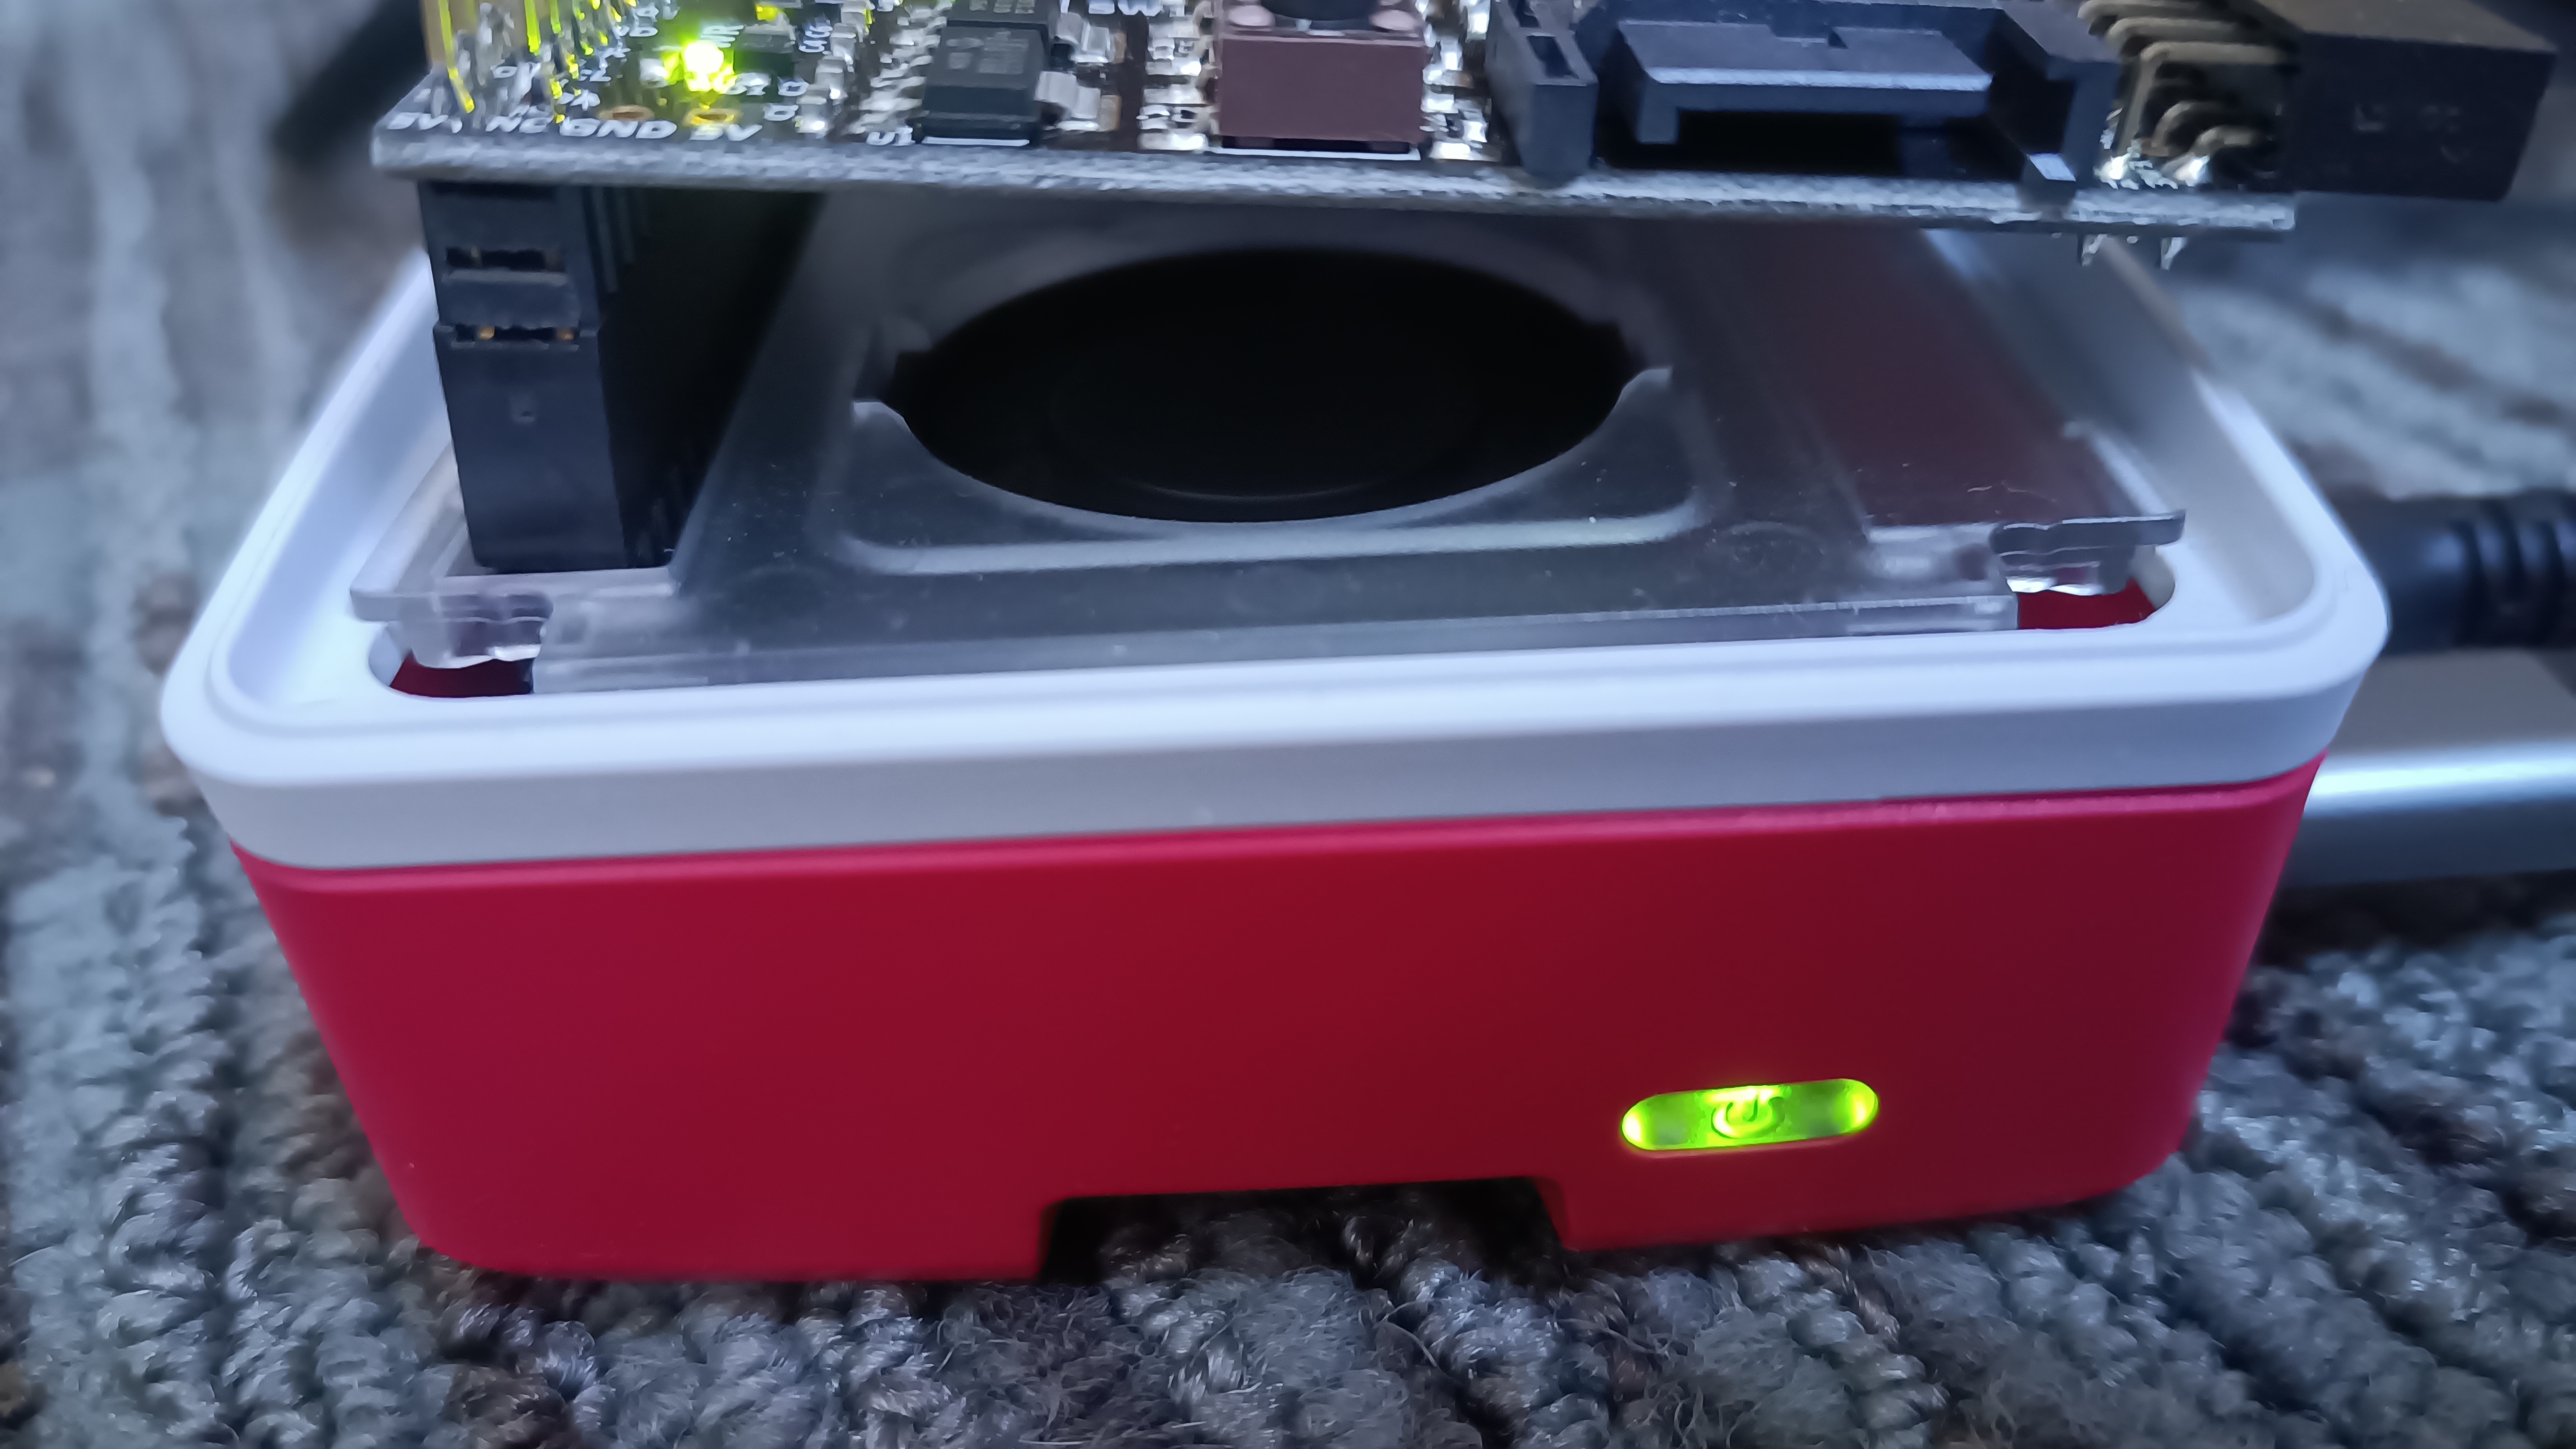
Because the layout of the Raspberry Pi 5 is different from the original Pi, attaching the board directly doesn't fit well (the Pi's ethernet port gets in the way). But this is easily solved with a little adapter that raises the board off the Pi. This has the added benefit that the board can be fitted while the Pi is in its case, which is nice. The board is only suspended by the connector, so there's a risk of bending it - I'll probably need to find a way to support the other side of the board, but this is good enough for now.
The only other issue connecting it is making sure the board is connected properly: the original Pi had a 26-pin connector, where newer ones have 40 pins; just need to remember that the end of the Logi-Pi's connector that's nearest the edge of its circuit board goes at the end of the Pi's connector that is also nearest the edge of its circuit board.
Software shenanigans
As I mentioned in my previous post, the Logi-Pi's loader software needed updating to work with the different processor chip in the Pi 5. This was fairly straightforward: I rewrote the code for accessing GPIOs so that, rather than accessing I/O ports directly, it uses libgpiod. I was somewhat concerned that the timing might also need attention, particularly as the existing code does things like the following:
//DELAY N CYCLES
void __delay_cycles(unsigned long cycles){
    while(cycles != 0){
        cycles -- ;
    }
}
I'm not sure how much of a delay this is intended to achieve, but the speed of the CPU - and choices made by the compiler - can have a huge effect on the time it'll take... not least because the compiler is entitled to remove the loop entirely! But in practice it seems to work. My repo with my changes in is available on GitHub (I'll raise a PR soon to see if it can be merged into the main repo); the tool is in the unified_loader directory, and can be built with:
cd
git clone https://github.com/psmears/logi-tools.git
cd logi-tools/unified_loader
make
Prepare the Pi
It's necessary to enable the Raspberry Pi's SPI interface (which the loader uses to send data), as well as giving the user permissions to access both the SPI interface and also the GPIOs (which are used for resetting the FPGA etc). To do this, edit /boot/config.txt and append
dtparam=spi=on
if it's not there already; then run
FILES=(/dev/spidev0.1 /dev/gpiochip0)
sudo chown ".$USER" "${FILES[@]}"
sudo chmod g+rw "${FILES[@]}"
The change to config.txt should be persistent, but the permission changes will have to be redone on each boot (though you can almost certainly fix that with udev rules or something like that).
Load the code
At this stage I don't have an FPGA toolchain running (that's the next step!) so I'm reliant on there being pre-compiled images ("bitstreams") available in order to test the board and the modified loader. Fortunately these do exist, for example in the Logi Apps repository. Be sure to git checkout the logipi branch, as otherwise the repo seems somewhat empty!
cd
git clone https://github.com/fpga-logi/logi-apps.git
cd logi-apps
git checkout logipi
Then we cross our fingers, and try running the newly-modified loader on one of the bitstreams we just checked out:
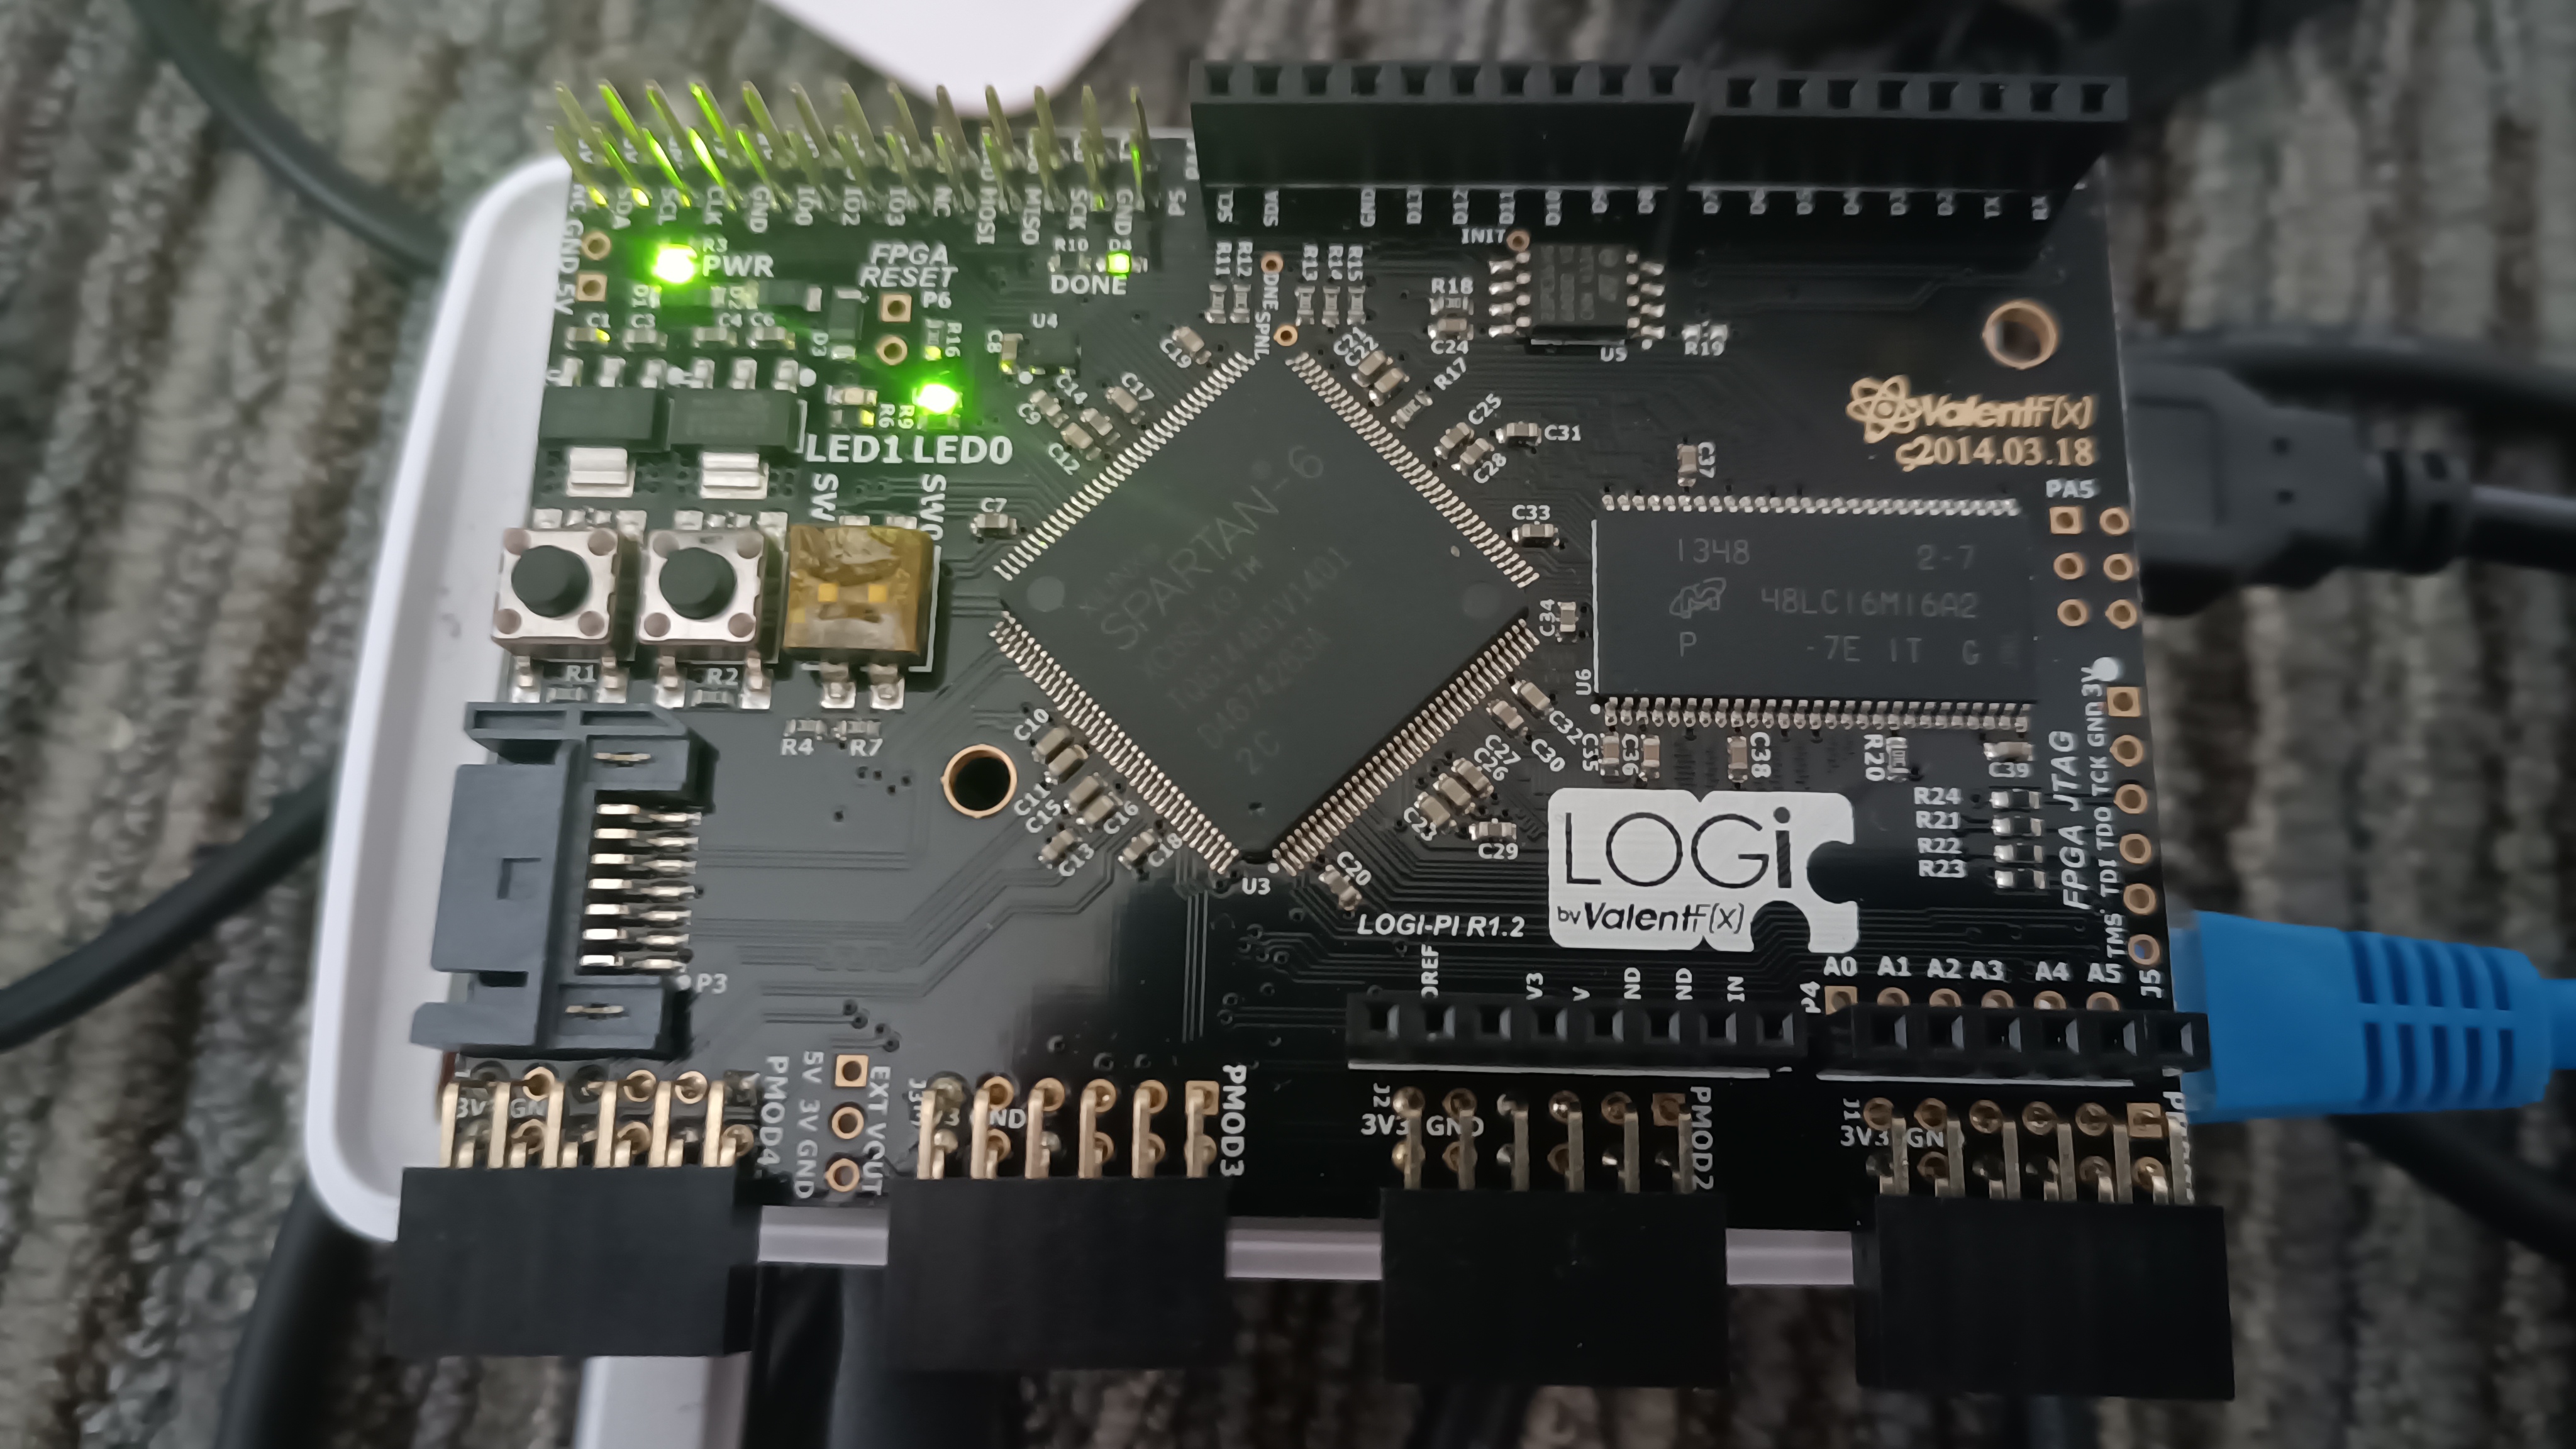
~/logi-tools/unified_loader/logi_loader blink_led_app/logipi_blink.bit
Well, whaddya know... the two LEDs on the board start blinking in a pattern! I'm fairly sure I've never before derived quite such satisfaction from making a couple of LEDS flash.
Next step: installing the toolchain, so I can write my own software for it...
0 comments