IR Blaster: Tasmota transplant
3 weeks, 1 day ago electronics tasmota
To save energy, I have a bunch of cunning adapters that automatically switch on/off the device plugged into them. These run Tasmota, a very flexible and configurable open-source firmware. The devices are wifi-capable, based on ESP8266 modules, and as well as switching things on/off they also monitor the power used by whatever's plugged in to them.
This gives you a picture of where all the power is going in your house - and lets you turn it off when it's not needed! But some appliances (notably the hi-fi) need finer-grained control: we don't just want to turn it on; we need to select the right input, select a suitable volume, and so on. So it would be handy to be able to transmit infra-red remote control signals, ideally also from a device running Tasmota (which already has support for IR). How can we do that?
While it wouldn't be too difficult to build such a device from scratch, it would have been more work that I had time for (designing a circuit board, putting it together, testing and debugging, designing a suitable IR-transparent case etc...) so I decided to look for something pre-built. The good news: from time to time Amazon sells these wifi-controlled IR blaster devices (last seen going for about £25 but the prices vary and I got mine for under £15), which would be ideal - if we can get them to run Tasmota.
By default these gadgets come with some sort of proprietary software installed, which relies on "the cloud". That's not great, because (among other concerns) the gadgets will stop working if our internet is down - and if it is, I'd like our hi-fi to keep working so I can at least listen to the radio! But if the gadget is 8266-based, chances are we can replace the software with Tasmota, and then we're in control.
The bad news is: these devices are not based on an ESP8266: instead, they use some sort of Tuya module that is not compatible with Tasmota. Luckily all is not lost: it turns out that the module that they use has the same pinout as some common 8266 modules - and that means, with some careful soldering, we can replace the Tuya module with an 8266-based one, and then we have what we want.
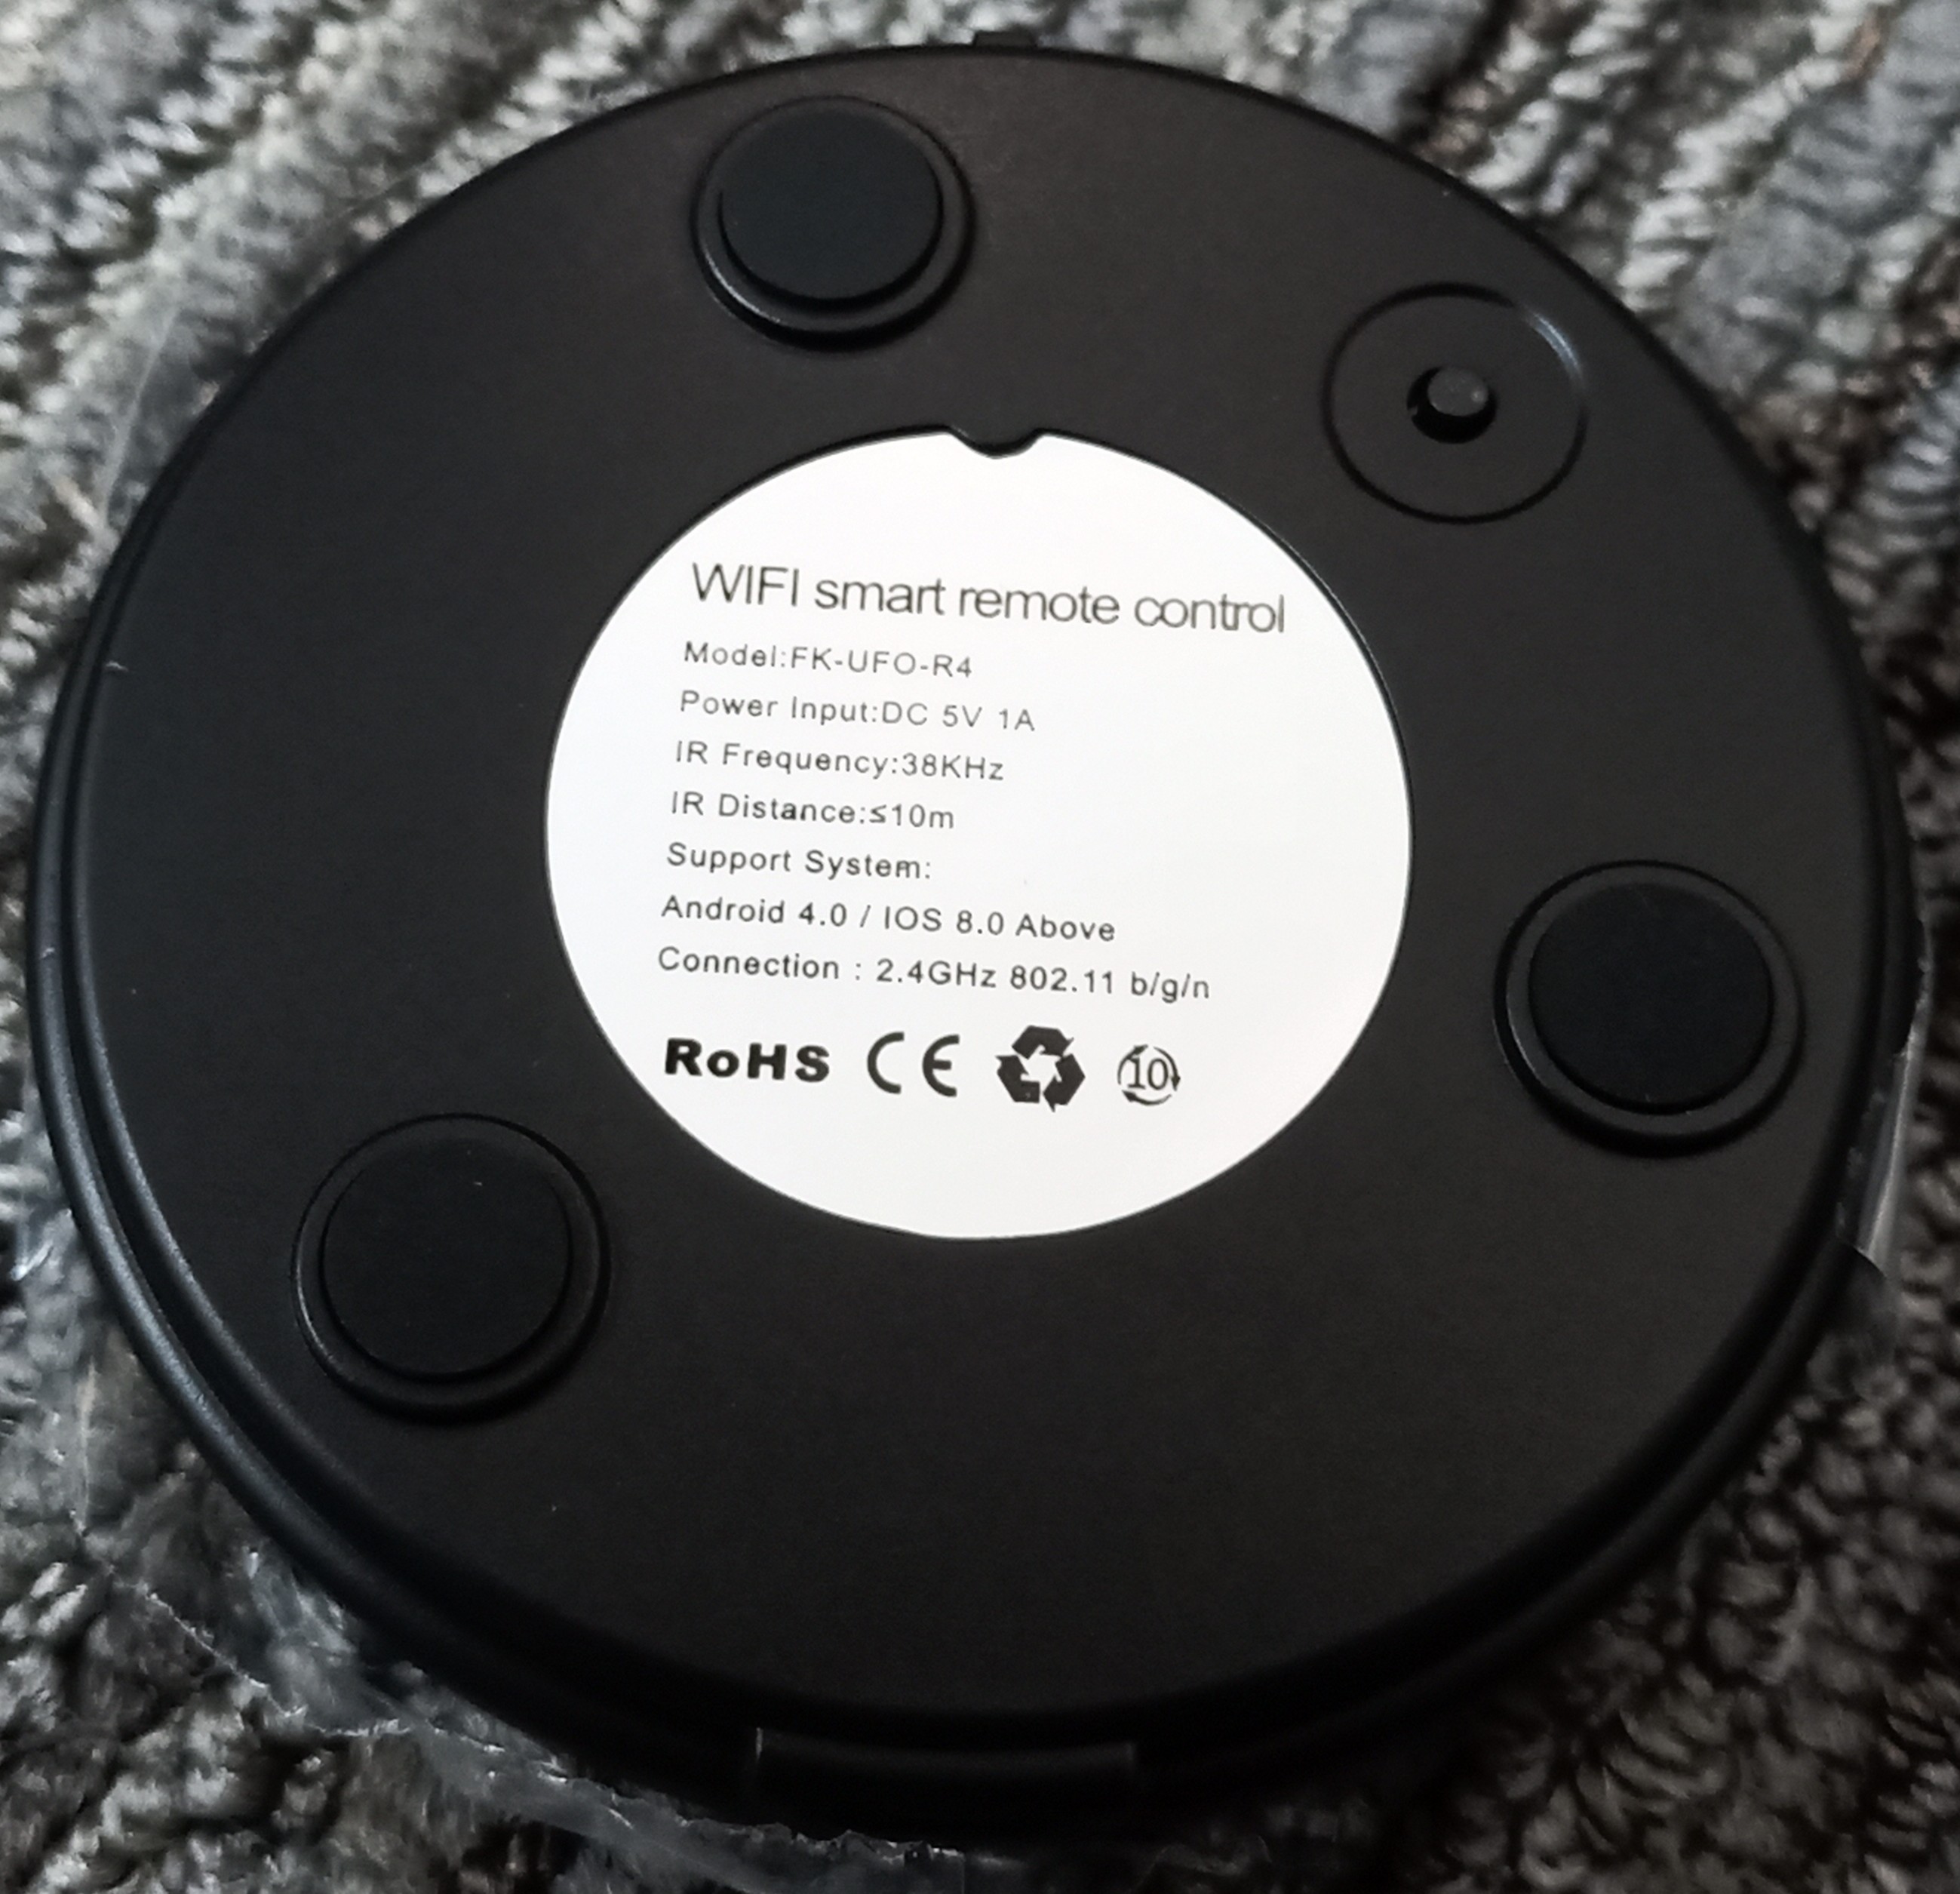
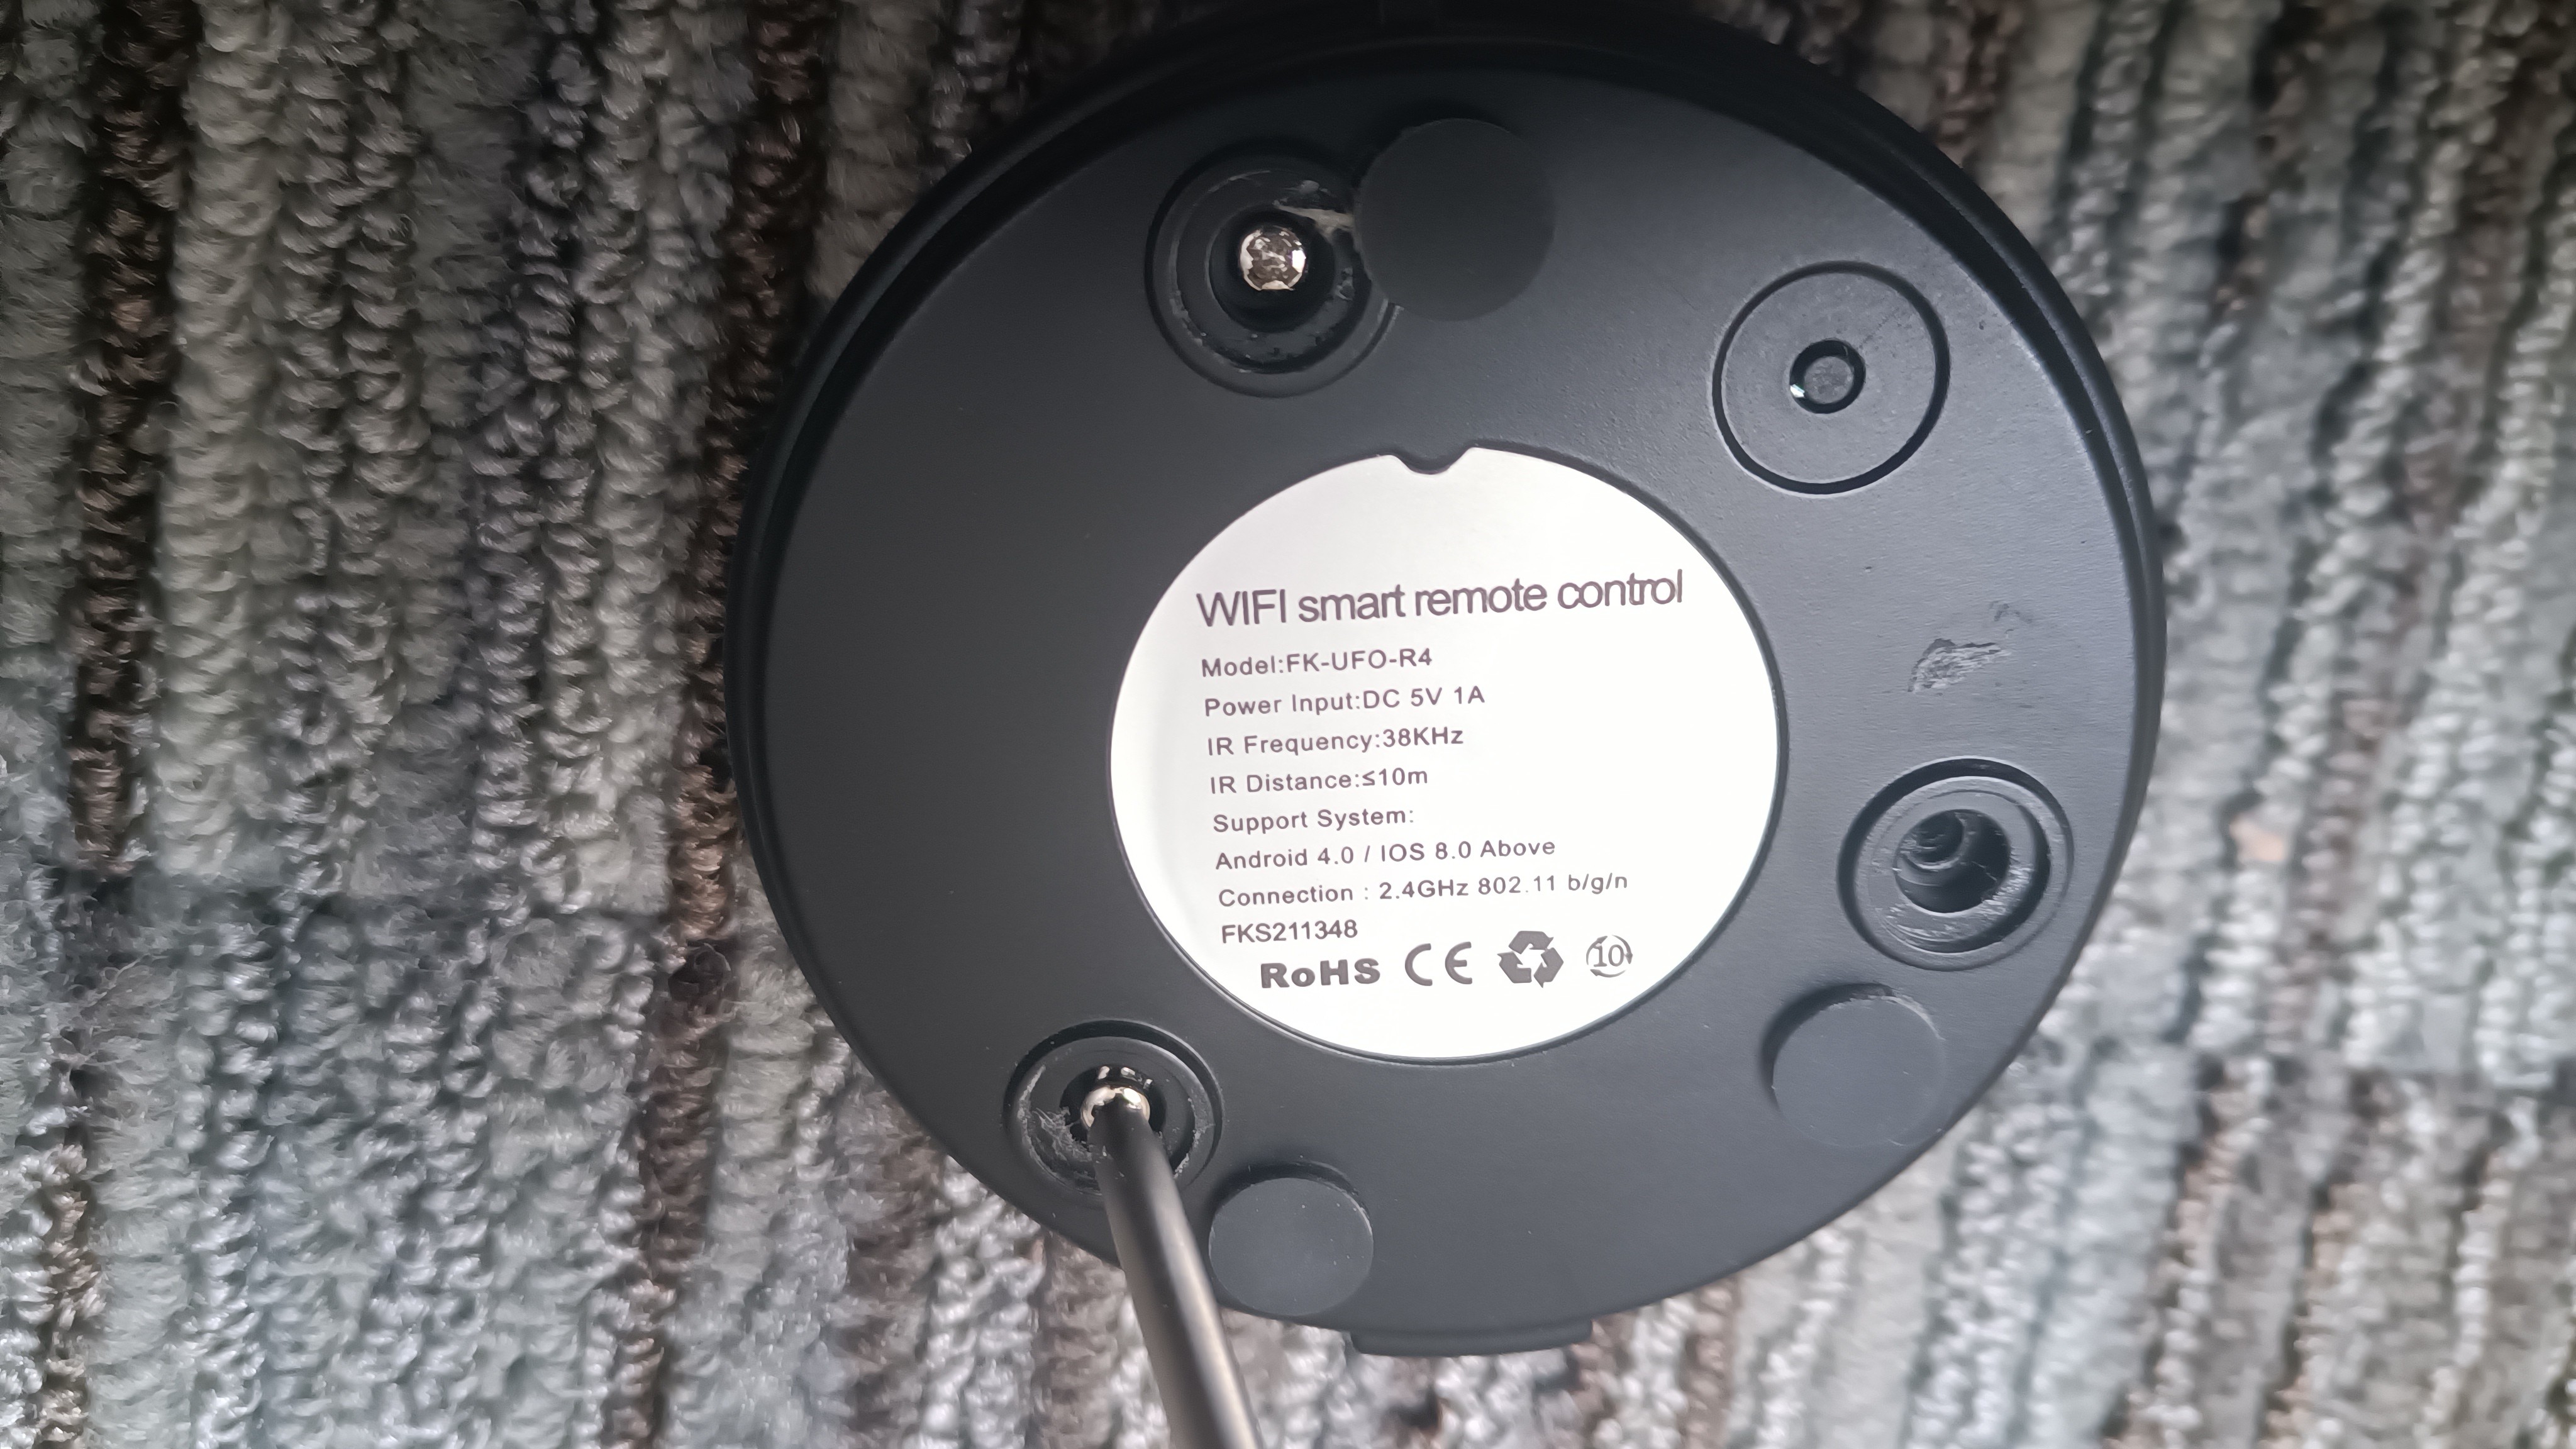
Here is the underside of the device:
Removing the three rubber feet reveals some screws, and taking these out allows the top to pop off fairly easily...
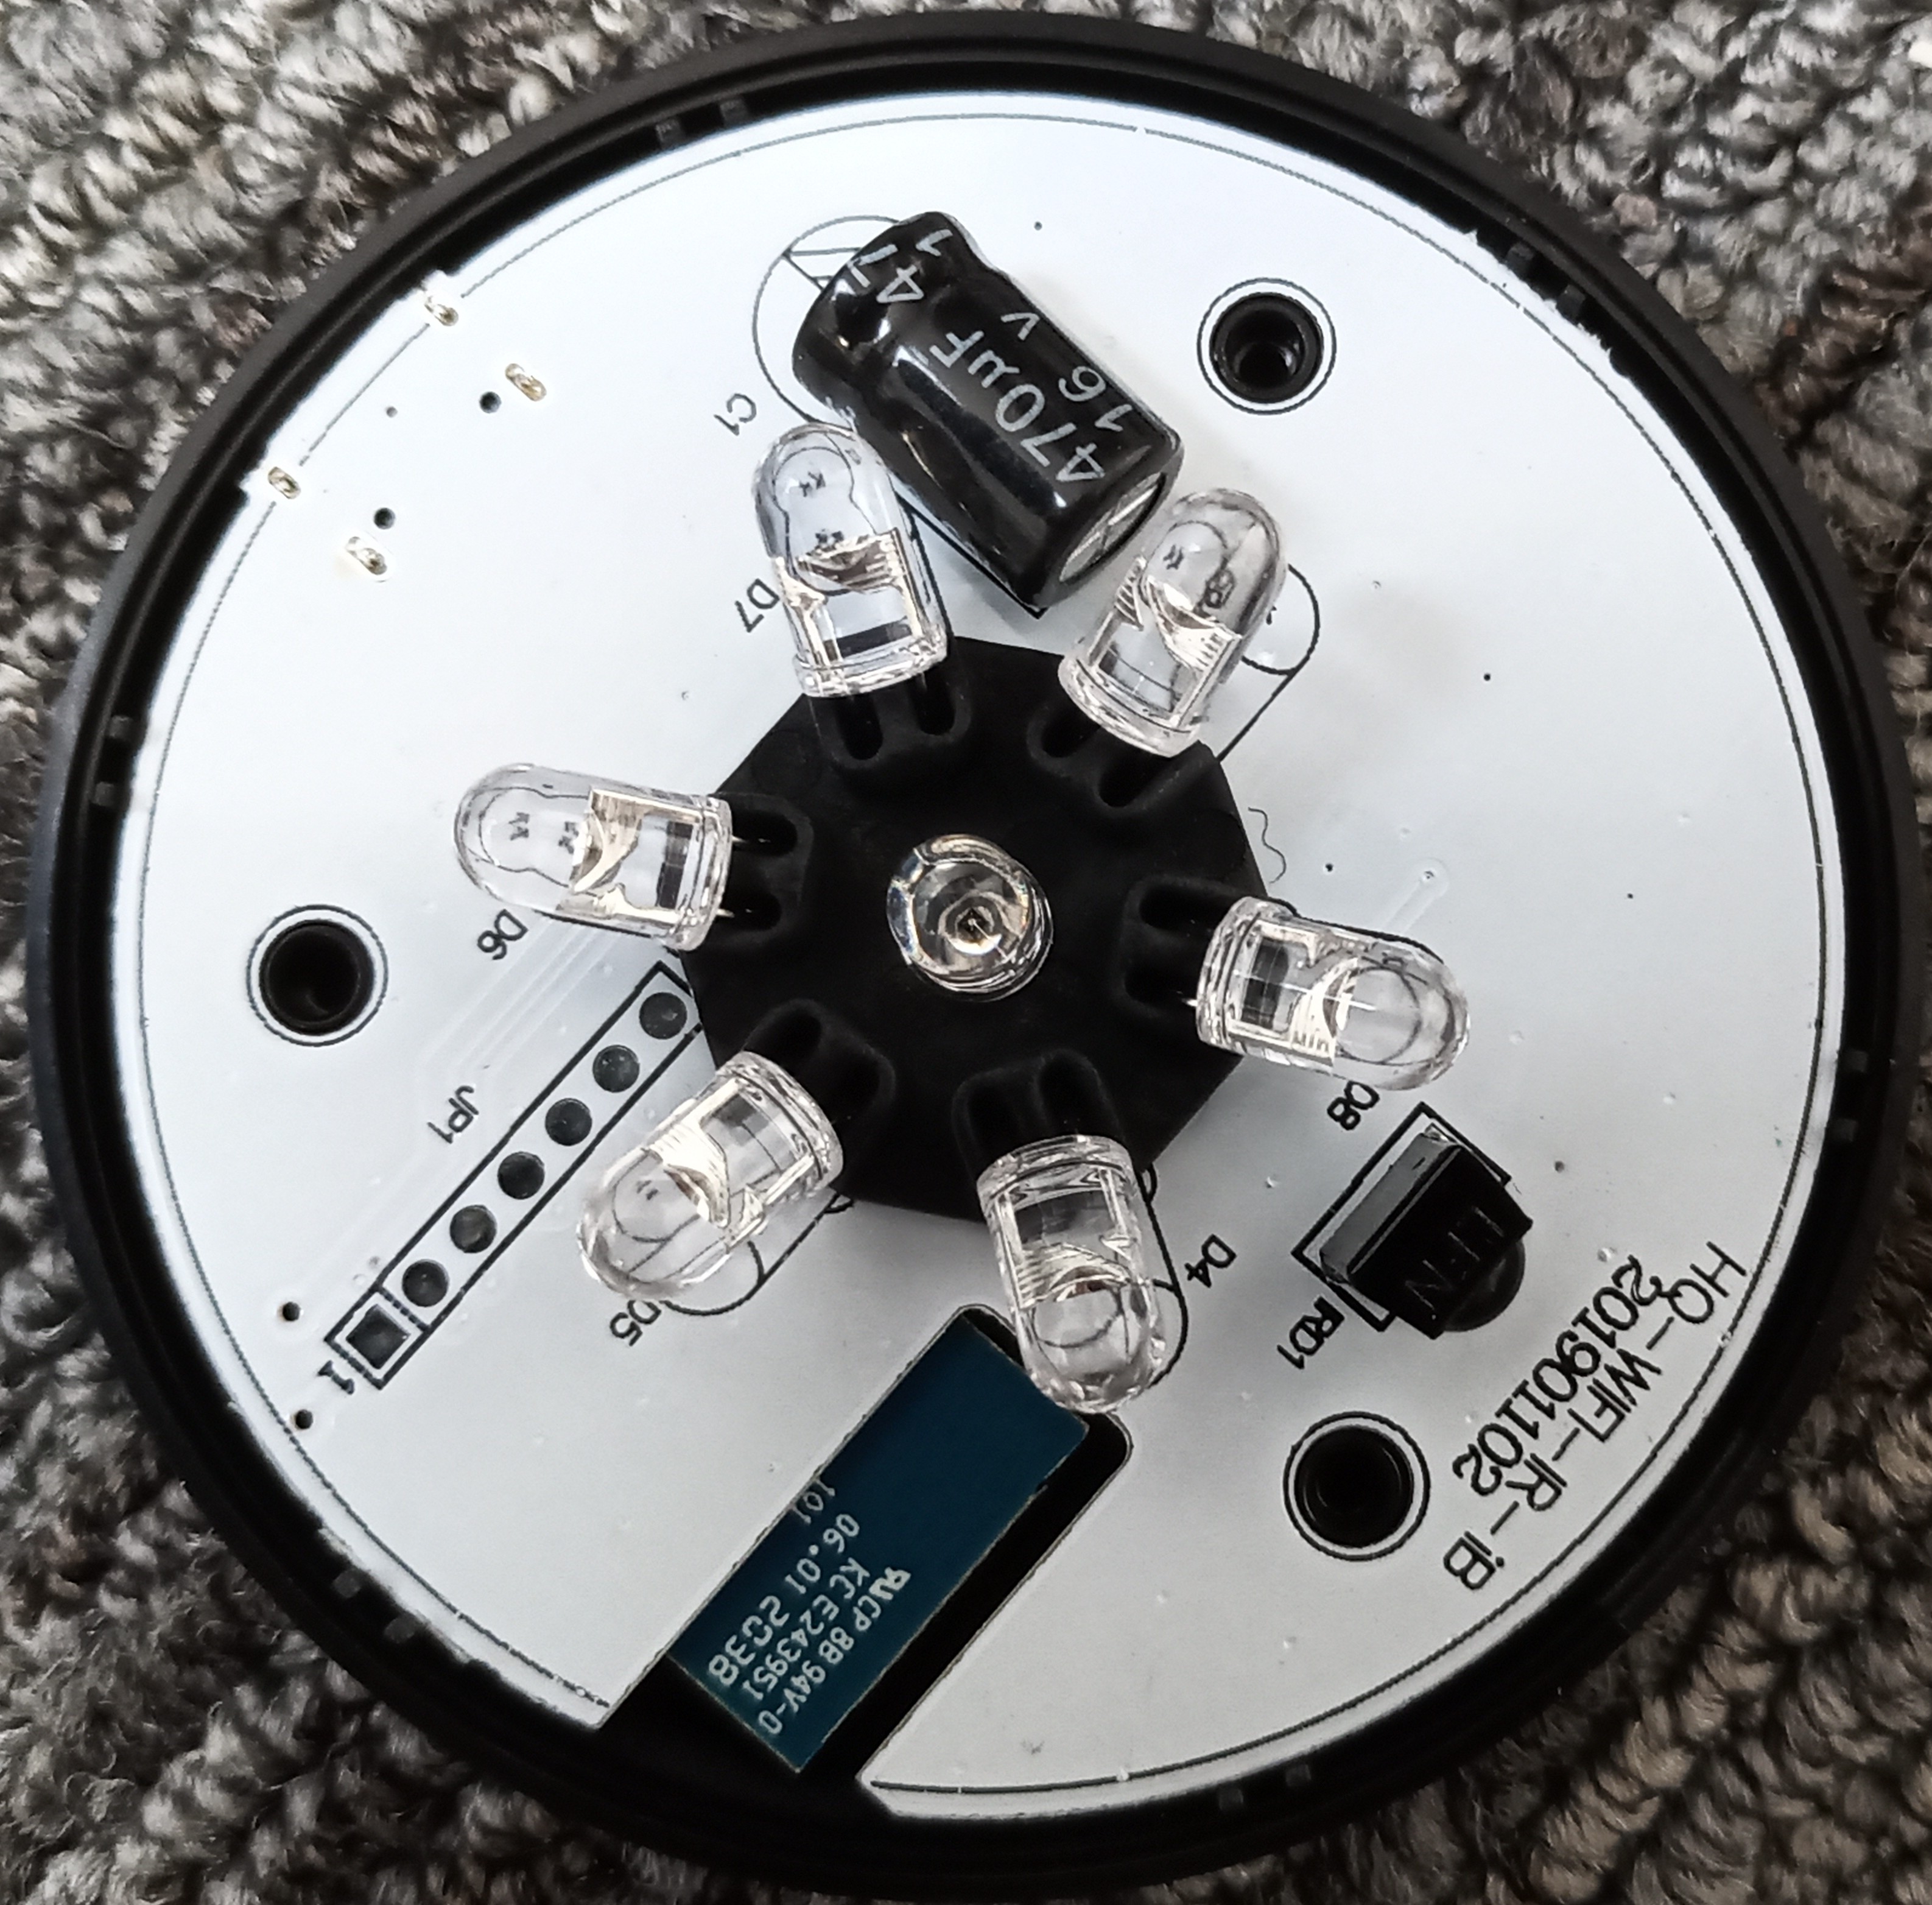
...revealing the LEDs:
The blue board visible through a slit in the above picture is the module we want to remove; let's turn over for a better view:
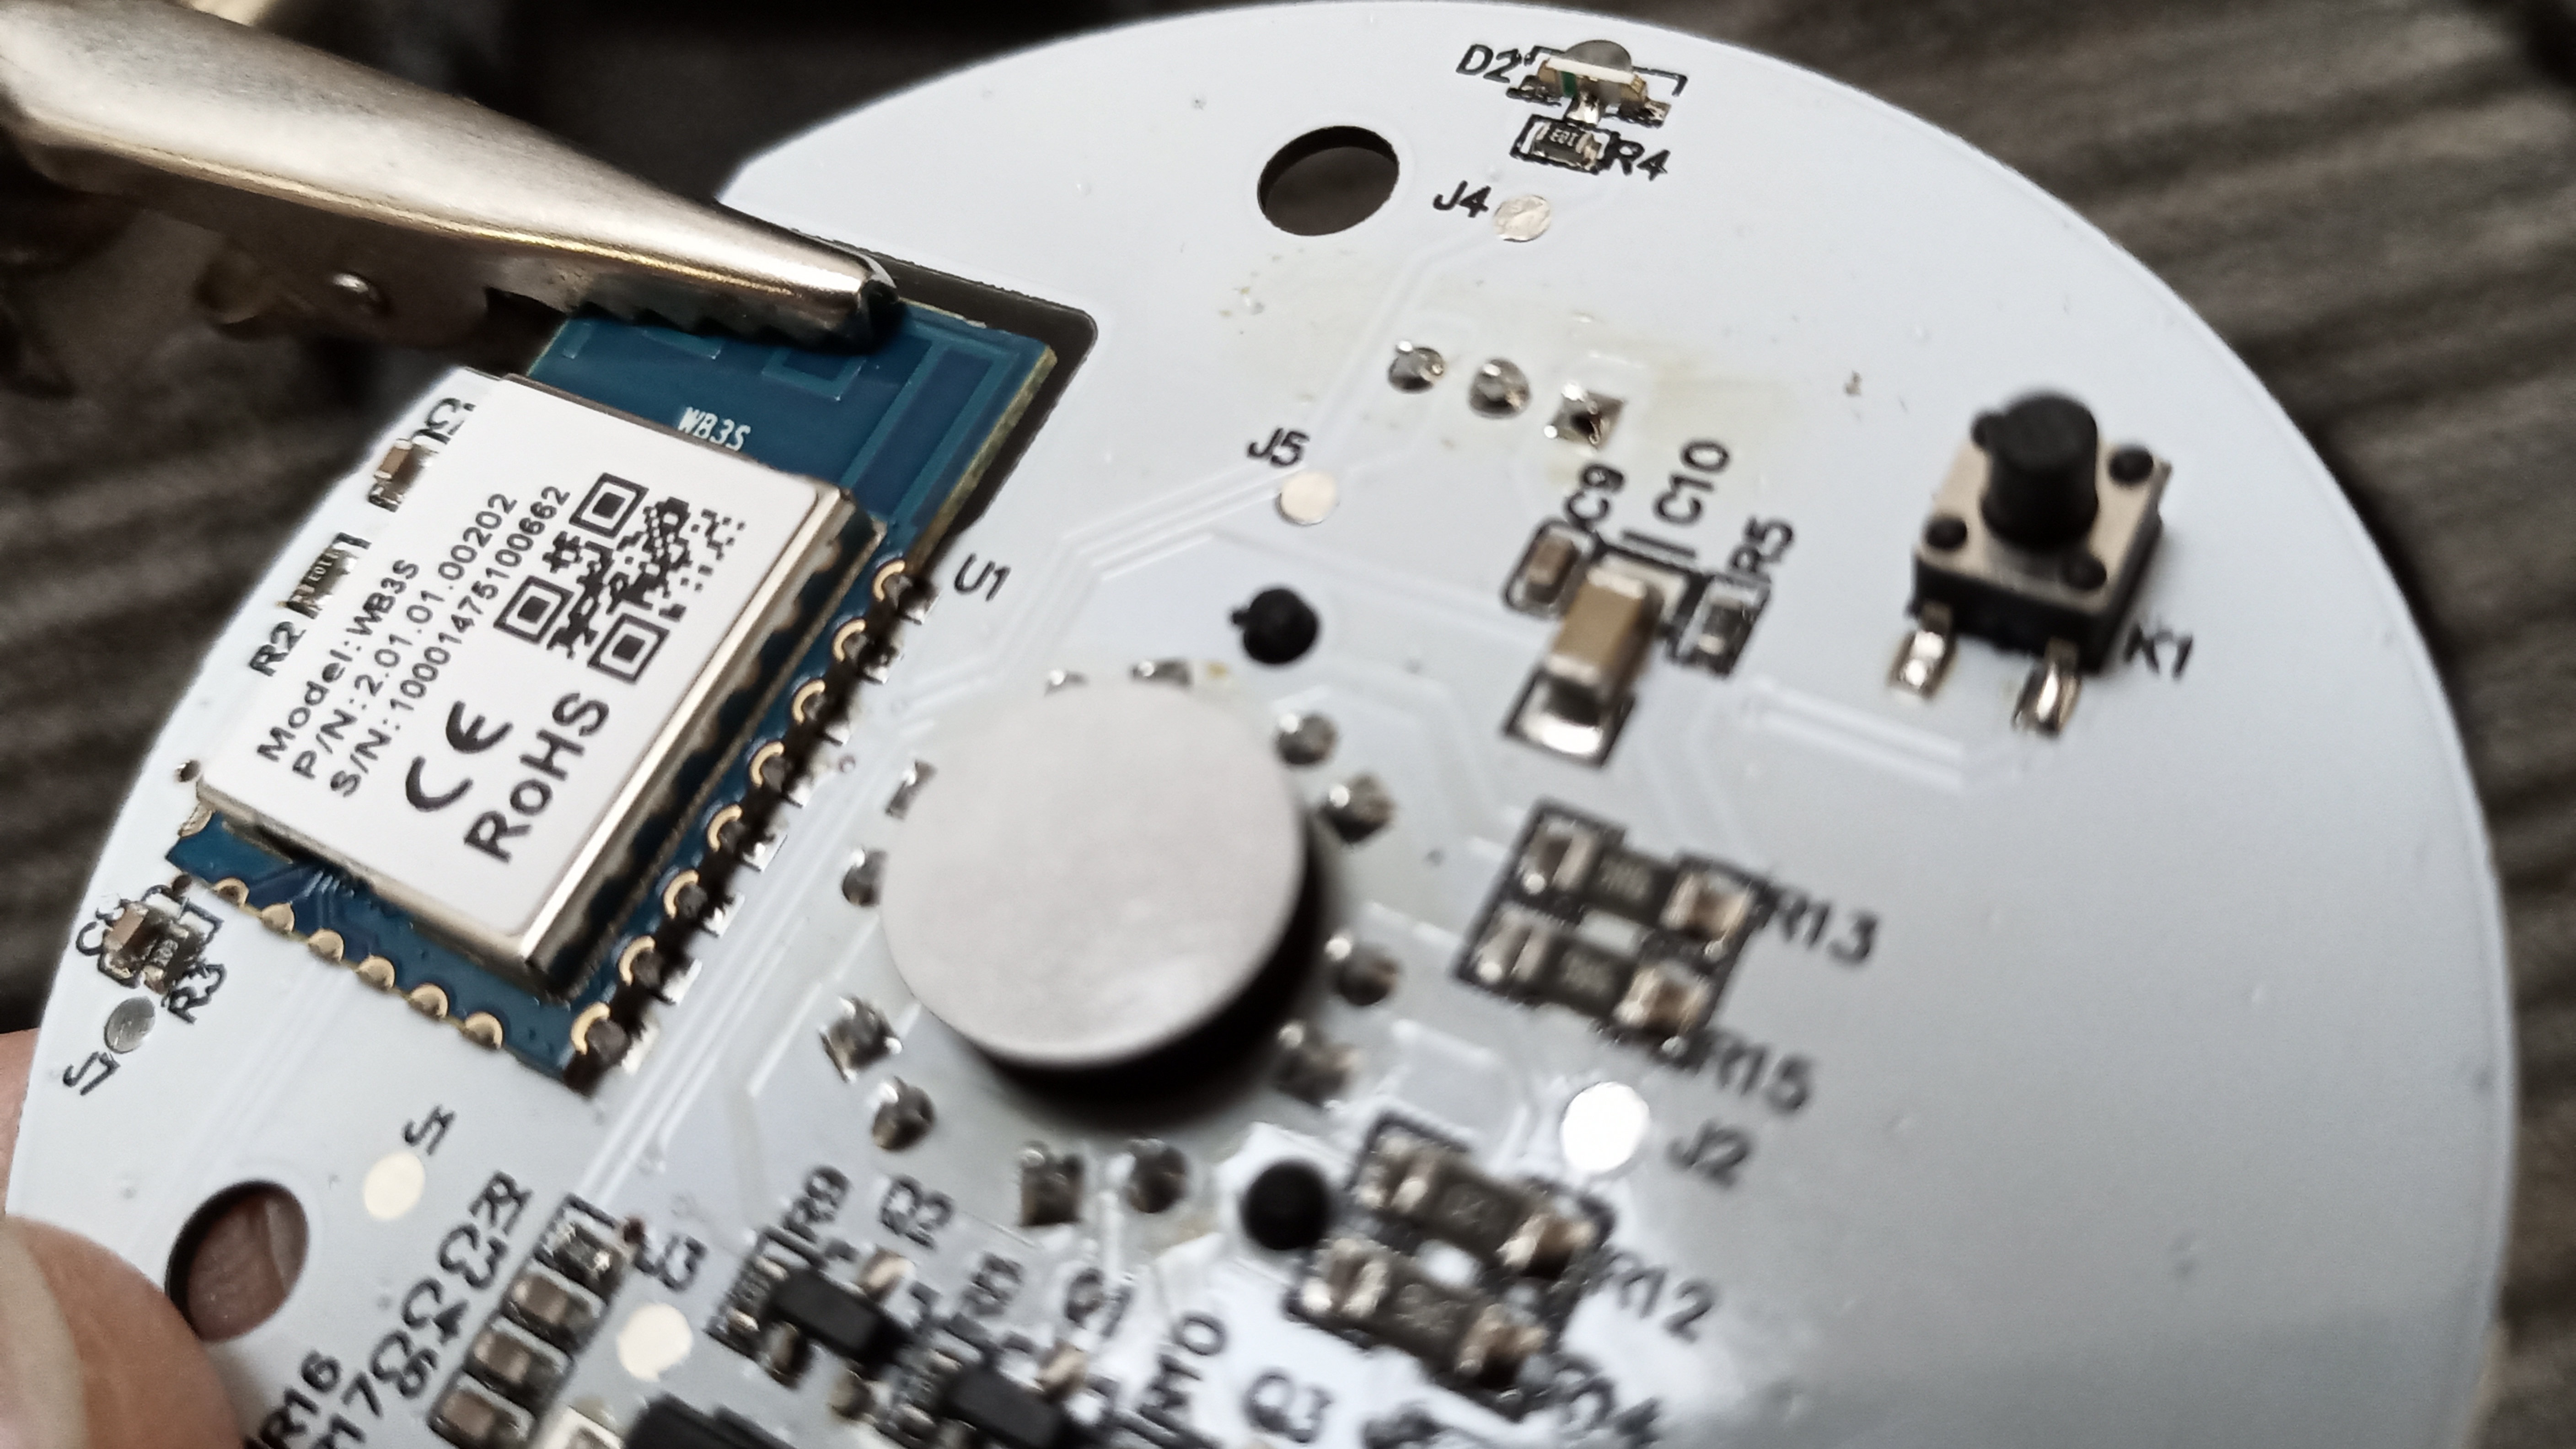
We want to replace the Tuya module with an ESP-12S board - I got these for less than a fiver from eBay; they don't seem to be available currently from the same seller, but other sellers do have them. With the help of some solder braid, a solder sucker, a soldering iron (naturally), and some patience, the Tuya module came off without too much of a struggle. After cleaning the residual solder from the board, it was equally straightforward to fit the replacement ESP board.
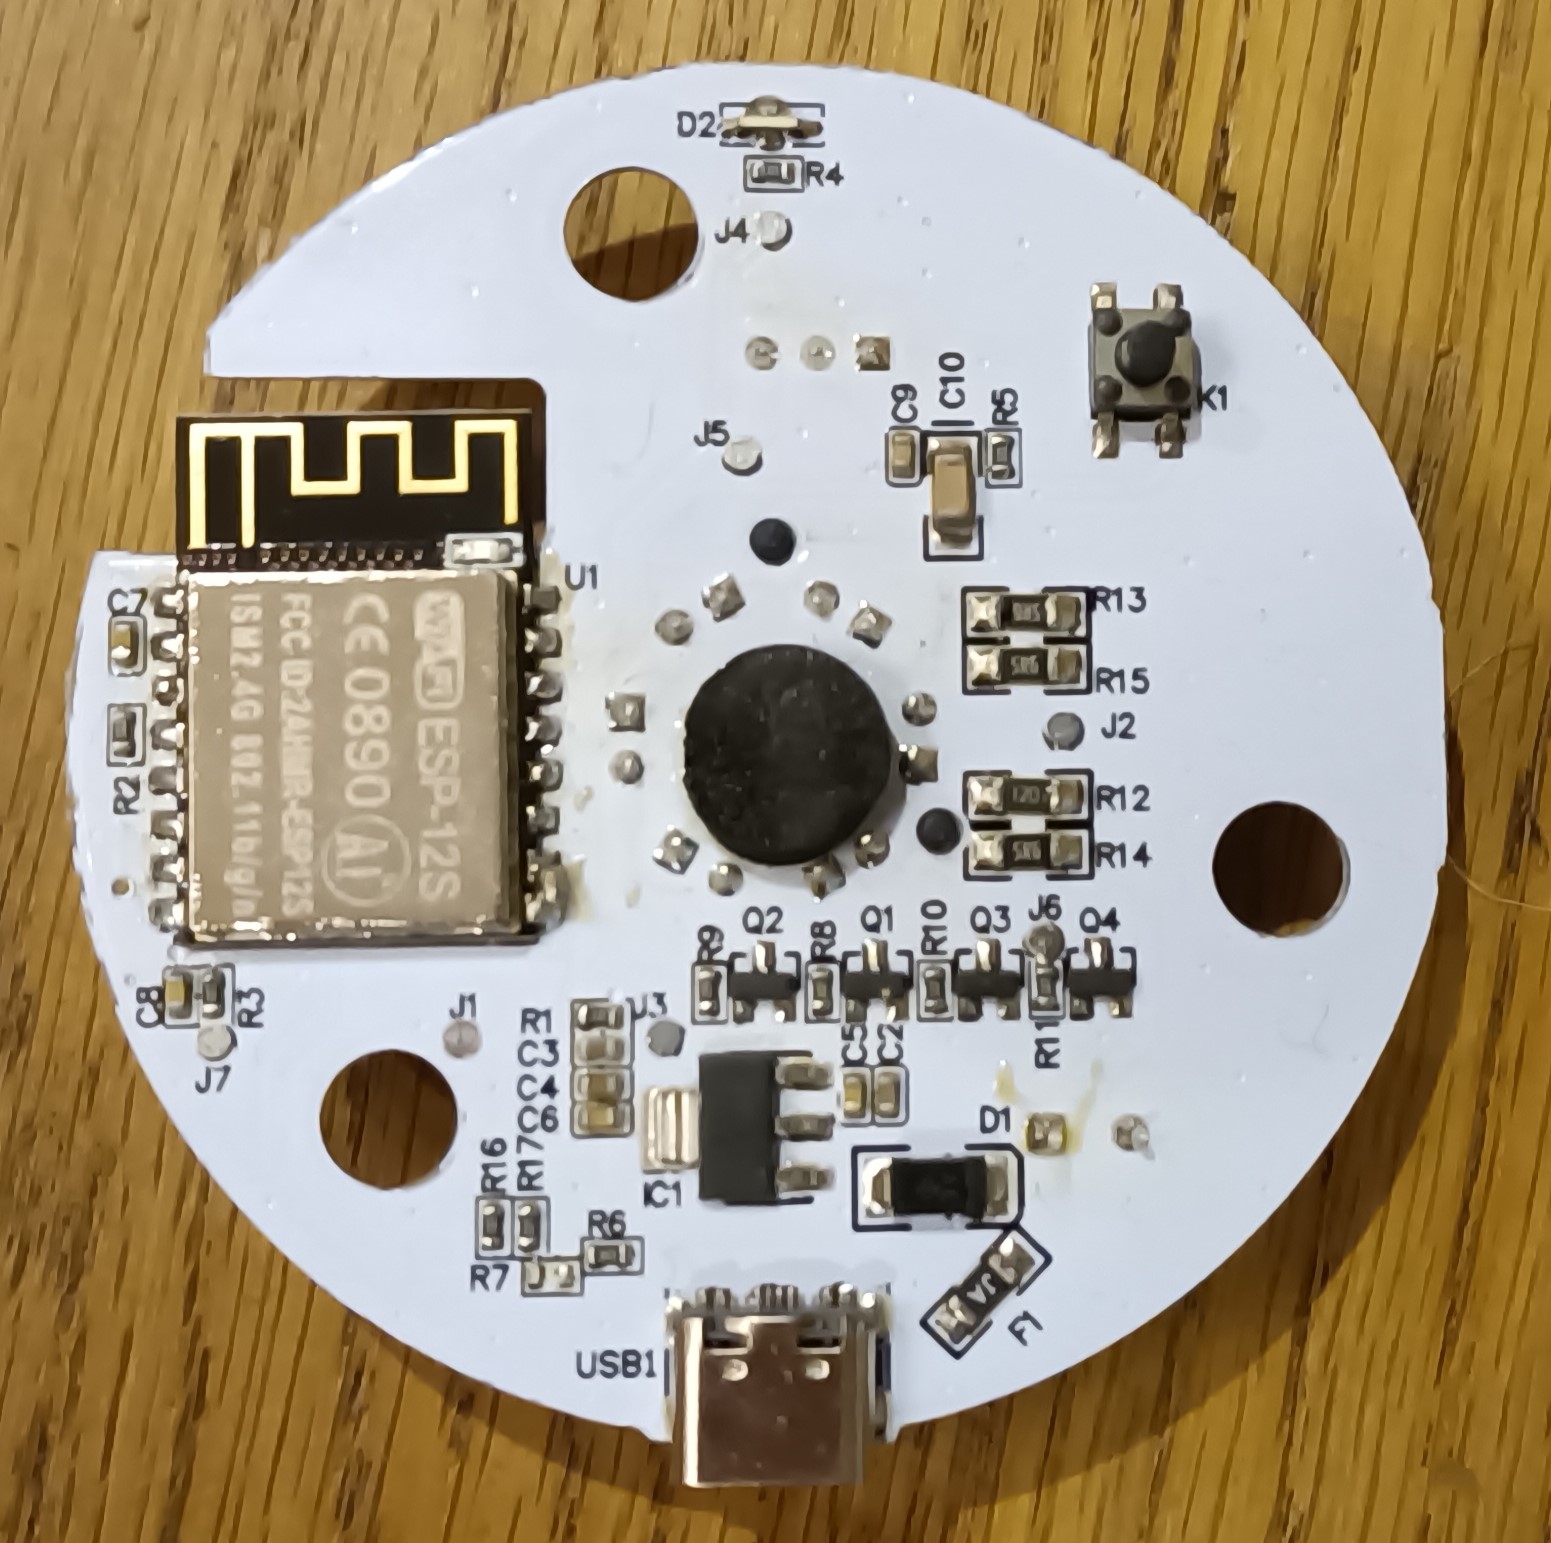
The sharp-eyed may notice that two of the pins are soldered together - this is deliberate, because the ESP module requires the GPIO15 pin to be connected to GND in order to boot; conveniently these two pins are adjacent, so a blob of solder does the trick.
Now that the new module is in place, we need to program it! The board has some convenient test pins, with 2.54mm spacing; let's see if they'll give us what we need, as it'll be much easier to hold a standard pin header against the test pins than to try to attach anything to the module itself. Some probing reveals:
JP1.1 = VCC
JP1.2 = ?
JP1.3 = TXD
JP1.4 = RXD
JP1.5 = GPIO0
JP1.6 = GPIO2
JP1.7 = GND
As luck would have it, that covers the set of pins we need to flash an ESP: we need to connect GPIO0 to ground, GPIO2 to VCC, RXD/TXD/GND to a suitable (3.3V) serial cable, and VCC/GND to a suitable (3.3V, decent current) power supply. Perfect!
The device now sits discretely on top of the hi-fi, powered from a USB charger that happens to be nearby. Some scripting means that, when we want to watch TV, the hi-fi comes on (at a sensible volume and with the right input selected) so we get sound through the speakers. And when we're finished, after a pause, it turns off - saving a small but significant amount of energy over the course of a year.
0 comments